Good preparation when painting your home or commercial space will make all the difference in achieving the best, long lasting paint finish – and this includes removing mould from walls and ceilings.
If you have mould spores on your walls or ceiling, follow one of these easy methods below to create healthy, mould-free surfaces that are clean and ready for fresh interior paint.
Before you start…
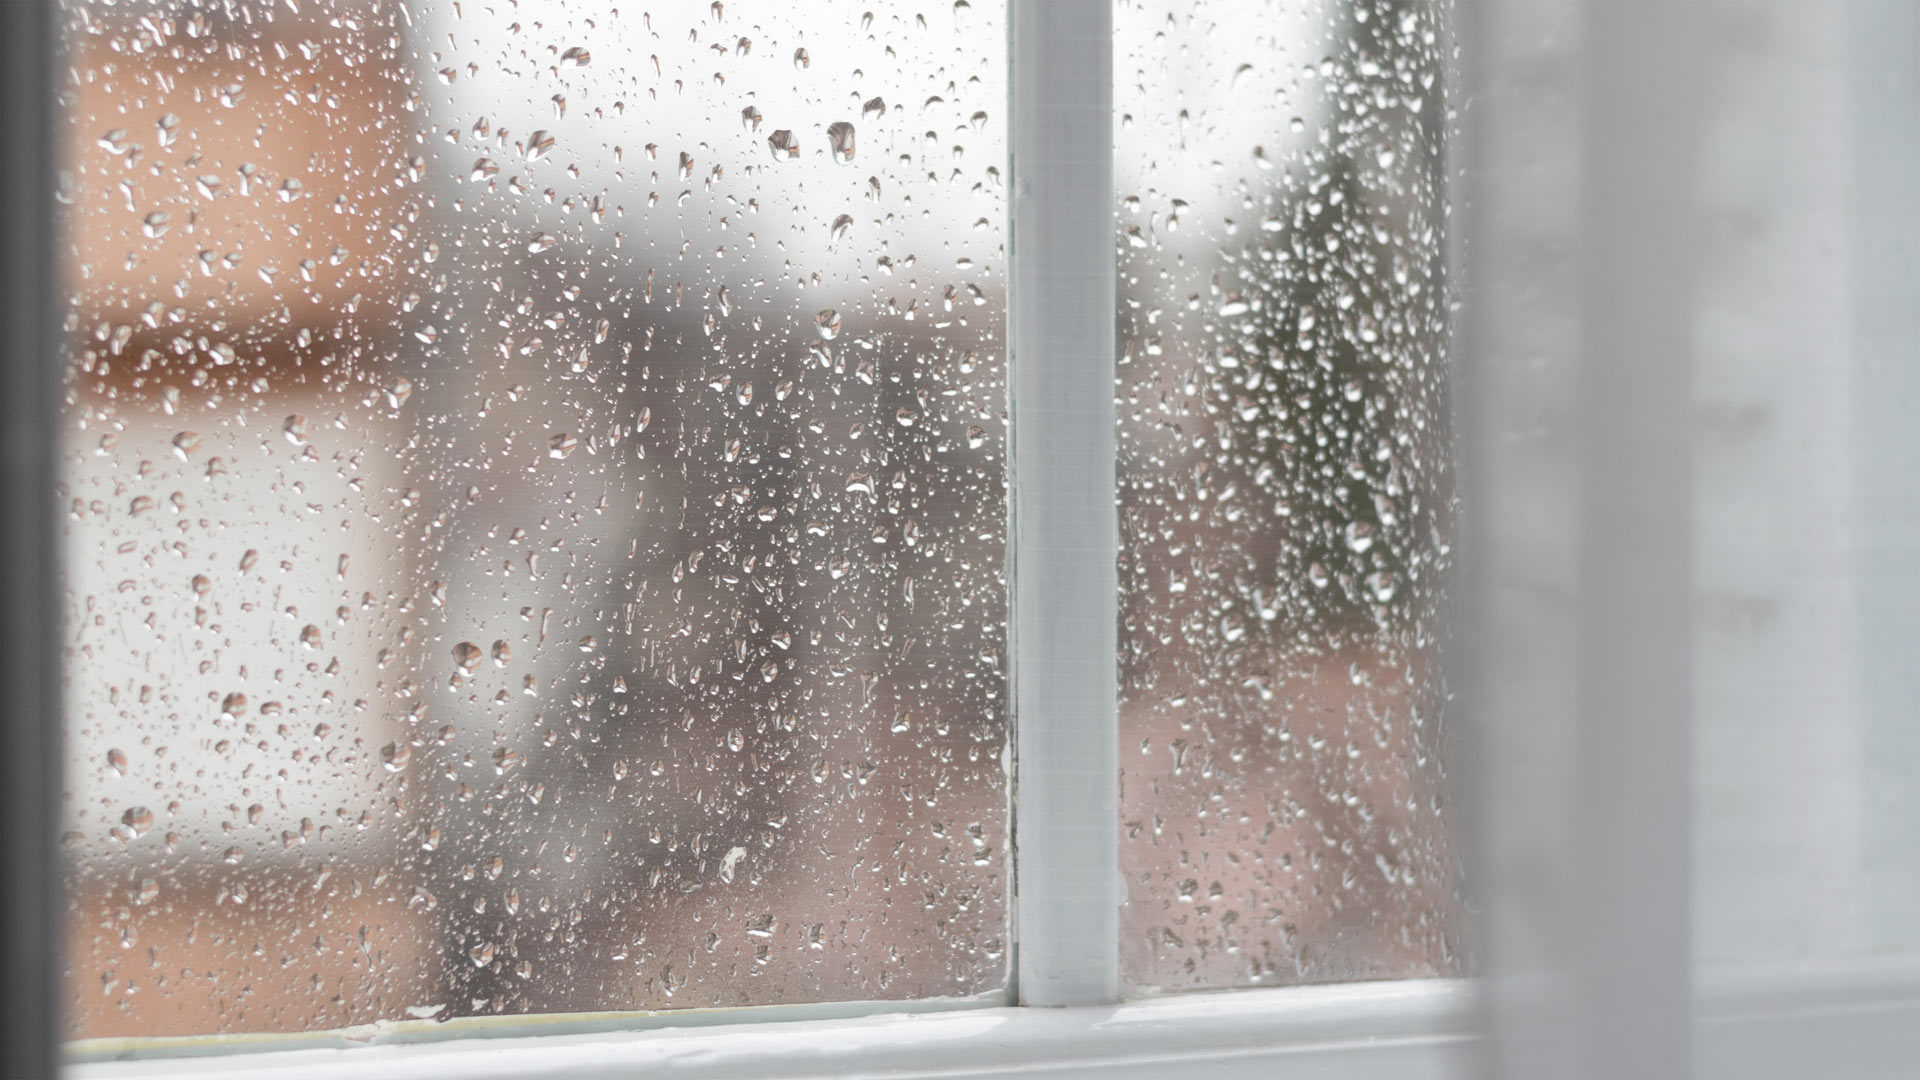
Firstly, it’s important to identify the cause of the mould to ensure that what you are dealing with is merely surface mould. Surface mould is caused by moisture in the air from poor ventilation, or high humidity levels; commonly steam in a bathroom or laundry. This can be removed successfully using the techniques below.
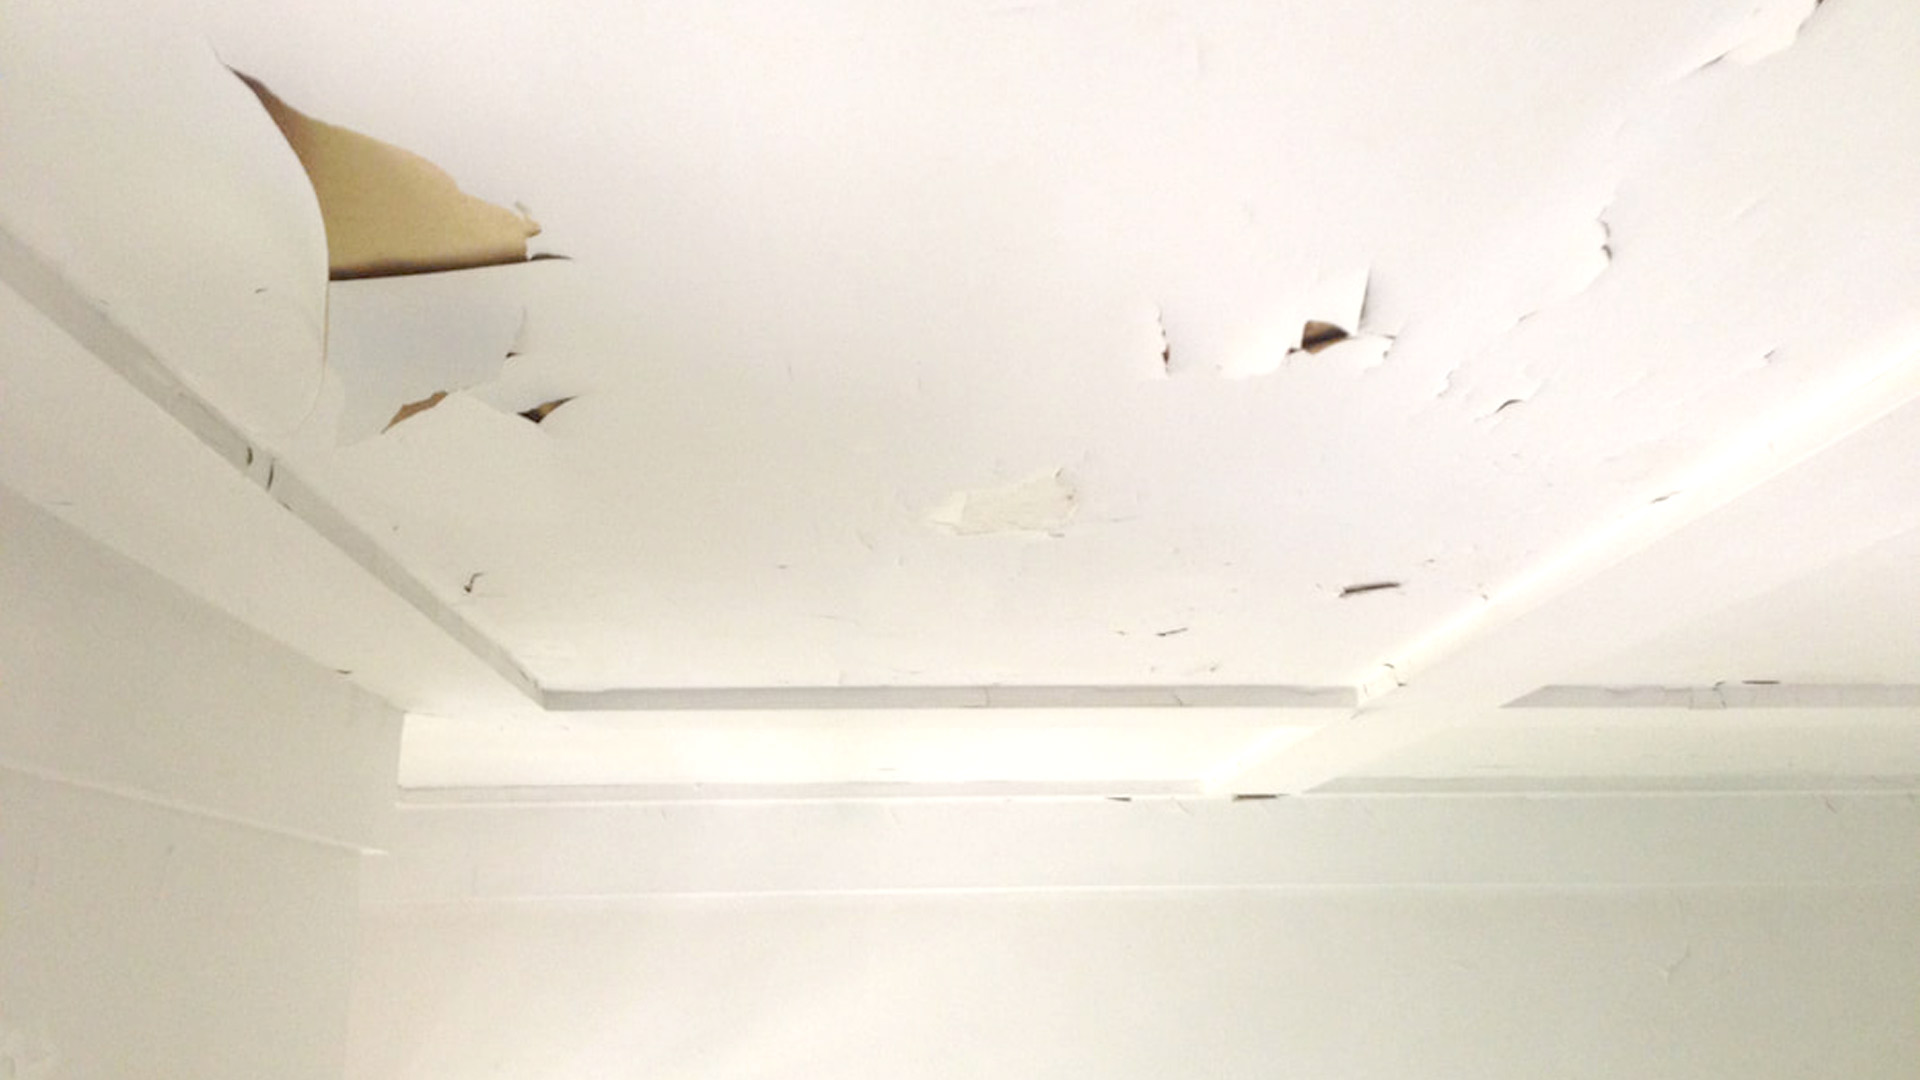
If in fact, you have an internal water leak behind a wall or in the ceiling causing mould, you will want to address the leak before proceeding with a paint project to avoid bigger problems down the track. This may involve leak detection, plumbing work and then a patch and repair of a section of the wall or ceiling once leak is repaired.
Method 1 – Mould Removal Using Vinegar
Choosing to use vinegar is a common method because it is 100% natural and safe and is known to not only remove, but also prevent future mould growth on surfaces.
You will need the following items: Spray bottle, white vinegar, heavy duty scrubbing brush, water, microfibre cloths (multiple) and a ladder for easy access.
- Pour vinegar into an empty spray bottle.
- Spray straight vinegar onto the mould and allow it to sit for 60 minutes.
- Wet a clean microfibre cloth with water and wipe off the mould.
- For stubborn hardened mould stains, use a firm bristled scrubbing brush.
- Do not use the same brush or cloth on other areas – discard all cleaning cloths and brushes.
- Use a dry clean cloth to absorb moisture using a dab and press techniques.
- Aerate the room with fans and open windows.
- Spray these areas 1-2 times per week with straight vinegar, and dry until you undertake the paint project.
Method 2 – Mould Removal Using Bleach
Bleach is a common chemical solution used to kill fungus that causes surface mould and prevent its return.
You will need the following items: Chlorine bleach, gloves and mask, bucket, water, microfibre cloths (multiple), a toothbrush for small hard-to-reach spots and a ladder for easy access.
- Affix mask and gloves to avoid skin contact and inhalation of the bleach.
- Create a mould-killer solution in a bucket using one part bleach to ten parts water.
- Dip one corner of your cloth into the solution and squeeze out excess.
- Wipe the mould off the surface.
- Dip another corner (to avoid cross contamination) and repeat.
- Use fresh cloths to ensure the solution does not get contaminated.
- Once all mould is removed, use a dry cloth to pat and absorb as much moisture as possible.
- For stubborn hardened mould stains, use a firm bristled scrubbing brush.
- Ensure adequate ventilation and quicker drying by opening windows and turning on fans.
Method 3 – Mould Removal Using Detergent and Oils
You will need the following items: Dishwashing detergent, multiple microfibre cloths, heavy duty scrubber (for stubborn stains), toothbrush (in case of small hard to reach stains) essential oils thyme and oregano, warm water.
- Mix 2 spoons of dishwashing detergent, one cup of warm water, 20 drops of Oregano Oil and 20 drops of Thyme Oil.
- Dip one corner of your cloth into the solution and squeeze out excess.
- Wipe the mould off the surface.
- For stubborn stains you may choose to use a heavy duty scrubber or toothbrush for hard-to-reach areas.
- Dip another corner (to avoid cross contamination) and repeat.
- Use fresh cloths to ensure the solution does not get contaminated.
- Once all mould is removed, use a dry cloth to wipe and absorb as much moisture as possible.
Whichever method you choose to get rid of mould on your ceilings or walls, allow a minimum of 48 hours (ideally one week) for the surface to dry completely and mould to vanish before moving ahead with a paint project.
You may choose to use a mould resistant paint, especially in rooms susceptible to condensation.
If you want to have a quick inspection of your walls prior to starting a professional paint job, contact One Day Paint today on 1800 663 329 or book a painting quote.
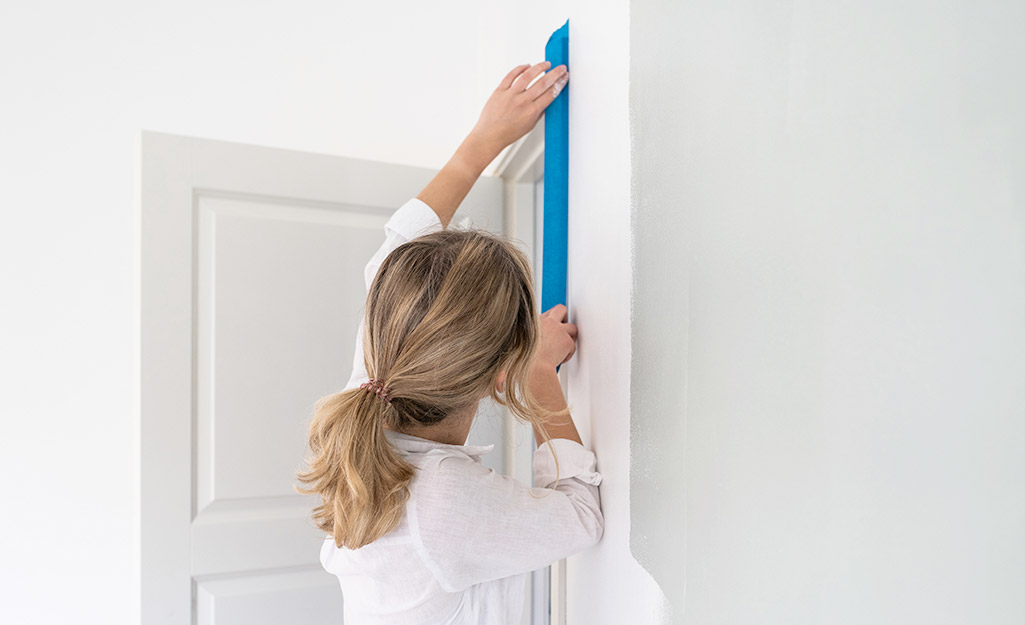
Masking your room effectively is another pre-painting preparation stage which should be done right! Read top tips for how to ‘mask’ when painting interiors.