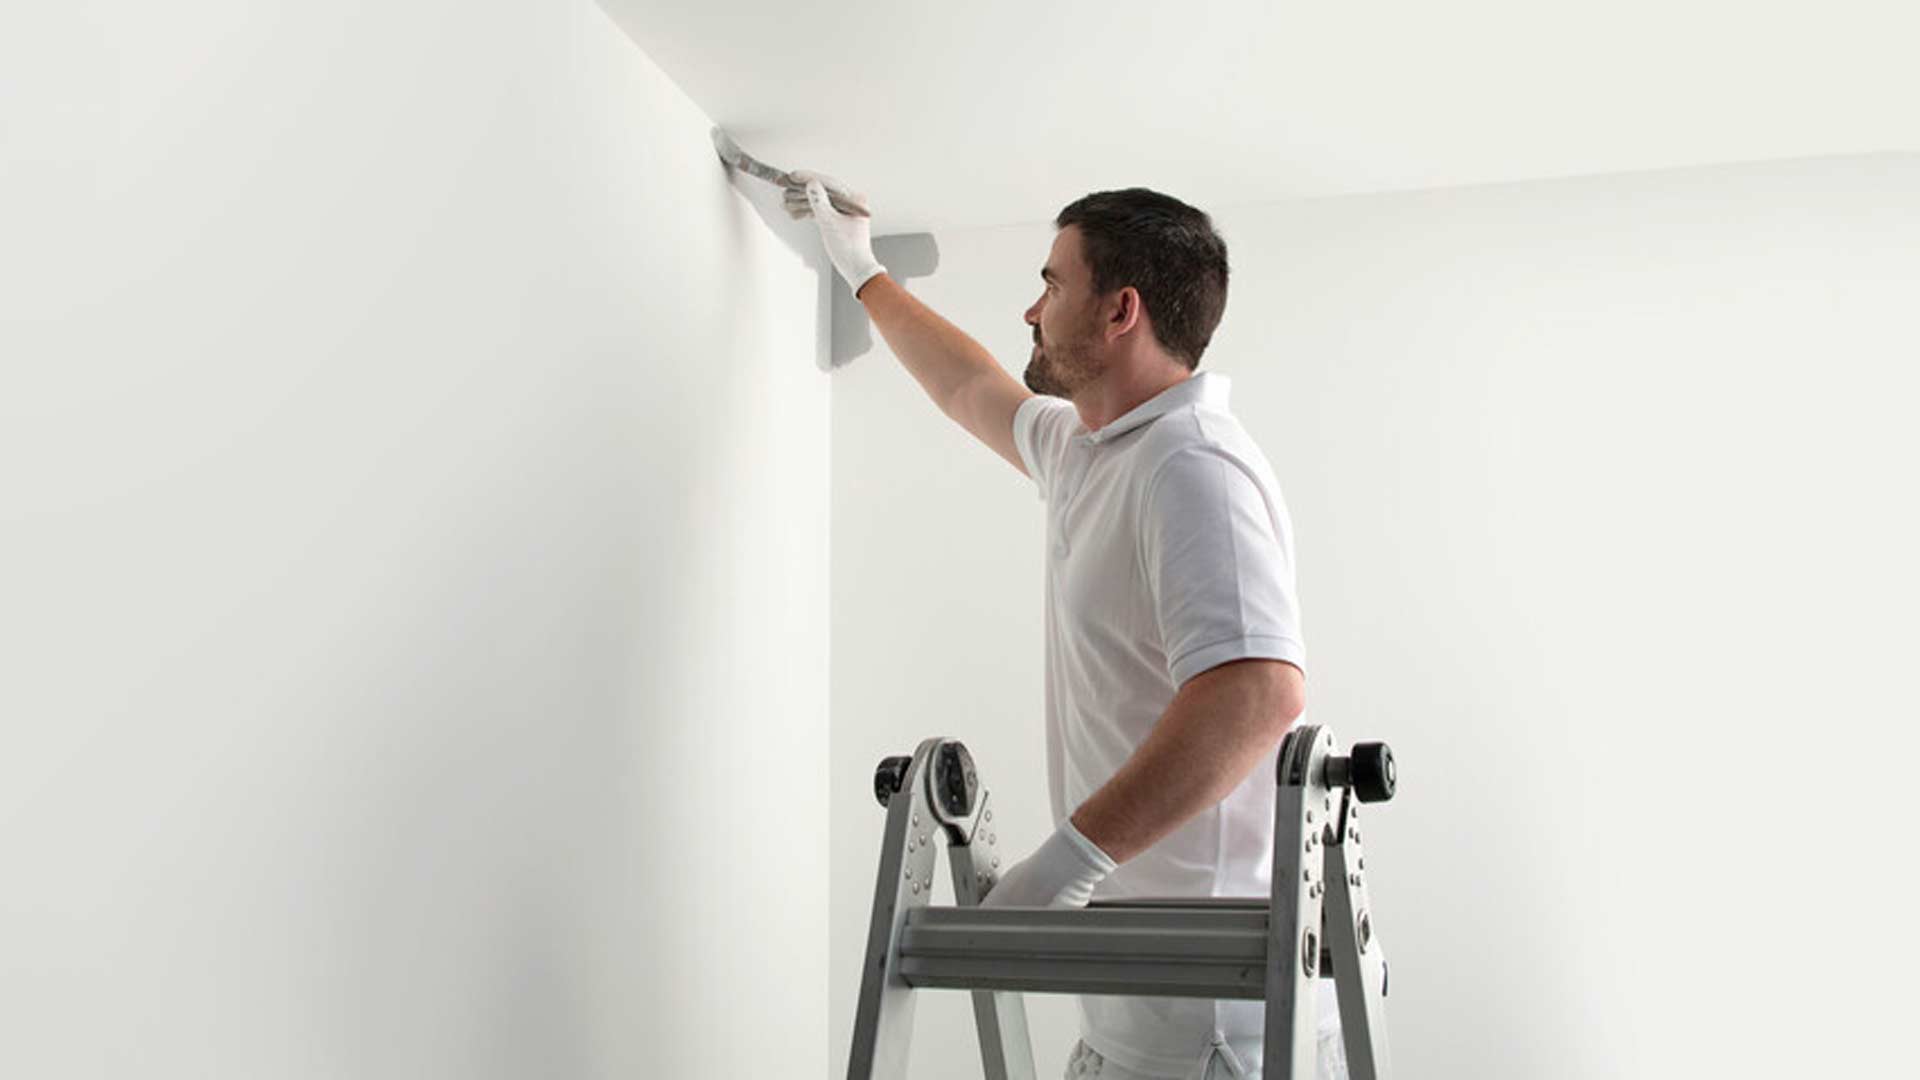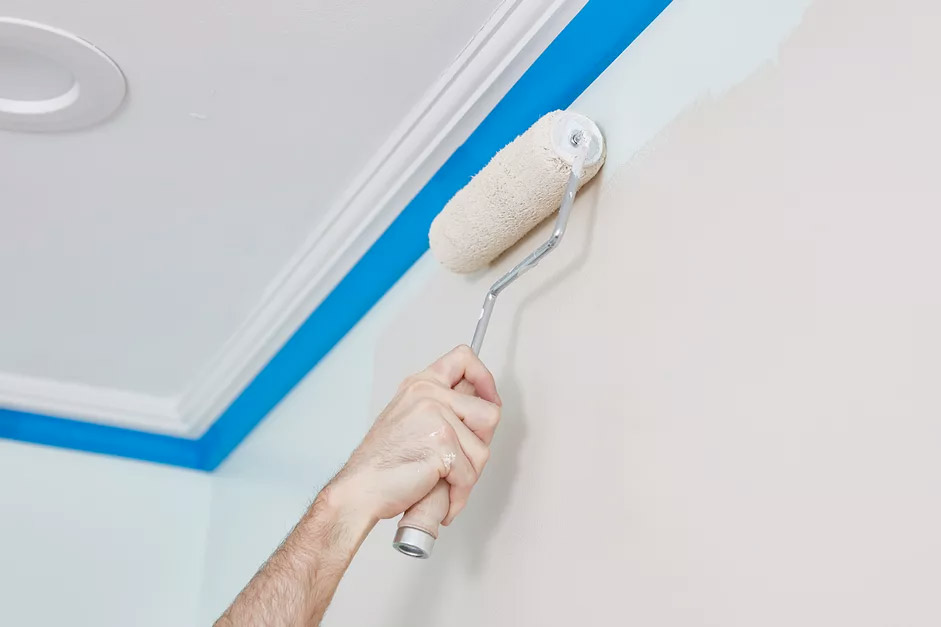
The best thing your can do before taking on an interior paint project is to have all the top tips up your sleeve. Here we will give you expert advice on how to tape before painting. Masking all the frames and edges properly of your entry way, wooden frames, base frames, and windows will be the key to success for a crisp paint result.
Our Best 5 Tips for Paint Masking
1. Quality painters’ tape for masking is worthwhile.
We often hear the question ‘should I use standard masking tape when painting’ from DIY painters in Melbourne. Whilst masking tape has long been the acceptable way to mask a room and will do the job of protecting neighbouring surfaces against paint bleeding, it is not ideal. There is a high adhesive component in regular masking tape which can damage the very surface it is trying to protect by removing paint.
Purpose-built painters’ tape was developed in recent years to give painters a better finish and easier clean up. Frog tape is the best example of quality painter’s tape. It is more gentle and less abrasive to surfaces and provides the perfect protection against paint bleeding with its concentrated gel to seal edges more effectively. For DIY painters and professionals, the mask removal stage is much quicker when using a specialty painters’ tape, justifying the higher product cost.
2. Prepare surfaces before masking
Tape needs a clean and dry surface to stick to. Built up dust and debris tend to find their way into all the frames, crevices and edges you are likely to cover. Even small particles can cause gaps in your taping. With a slightly damp cloth, wipe down window sills, base frames, cornices, and wall frames to prepare a clean surface for paint masking. Dry them well before applying tape for optimal effect.
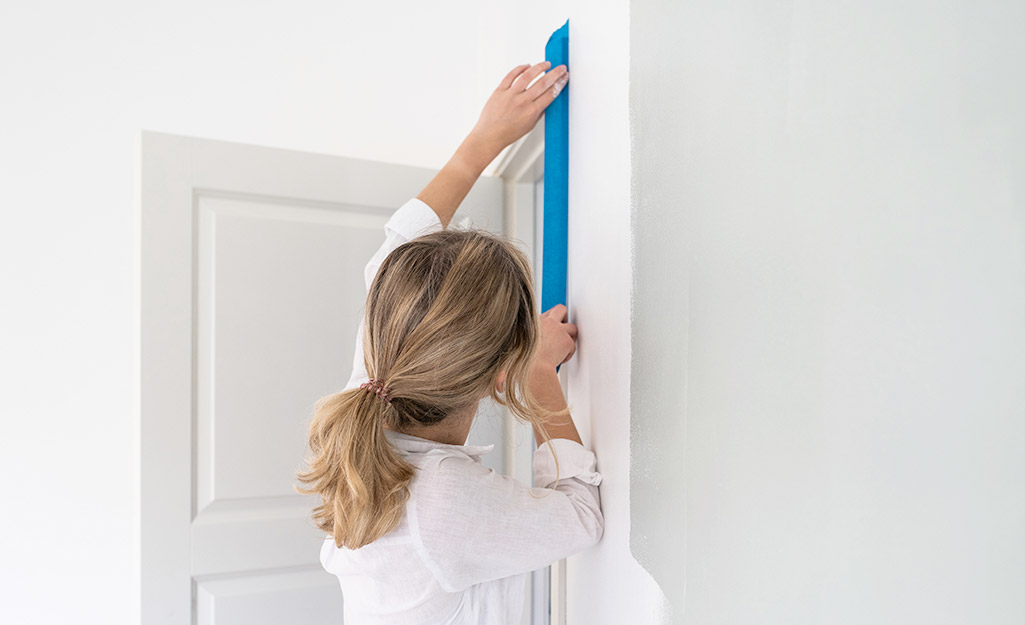
3. Secure the tape for even masking on base frames, wall frames and door frames
Start at the corner or edge use two fingers to push the tape down against the surface while rolling out the tape about 20-30cm as you go. You should leave some excess to ensure the edge is completely covered. Avoid rushing through and trying to flatten longer strips at a time as you may lose your straight angle. This process needs to be controlled. Use a putty knife to evenly cut tape excess off crevices, and also use the putty knife or similar to run along the strip to ensure a gap free result.
4. Take the time to mask fixtures and fittings before painting
The last thing you want is messy paint splatter on fixed items in the room.
Electrical sockets and light switches – Choose to either unscrew and remove the switch plate or frame and tape over the switches, or you can use plastic and masking tape to cover over them completely.
Light fittings – Depending on the size, shape, and style of the fitting you can mask lights differently when painting. You can remove the fitting altogether or bag the lamp section and tape off the base plate.
Wall sconces and thermostats – You should use small plastic bags with tape around the perimeter to protect these types of fittings during interior painting.
Stair rails – Painting stair rails can be tricky, and splatter will inevitably occur. We recommend securing paper at least 30cm underneath the railing (along each step) and then cover the stairs with drop sheets or the like. Be sure to secure the drop sheets down flat with standard tape to avoid risk for anyone moving about.
Floor coverings
Roll out a strip of paper against the baseboard and keep it secure with some budget masking tape. Yes, floors are the one area which can withstand the adhesive effects of standard masking tape if you are looking to save money. Then a drop sheet over the top will offer maximum protection when painting.
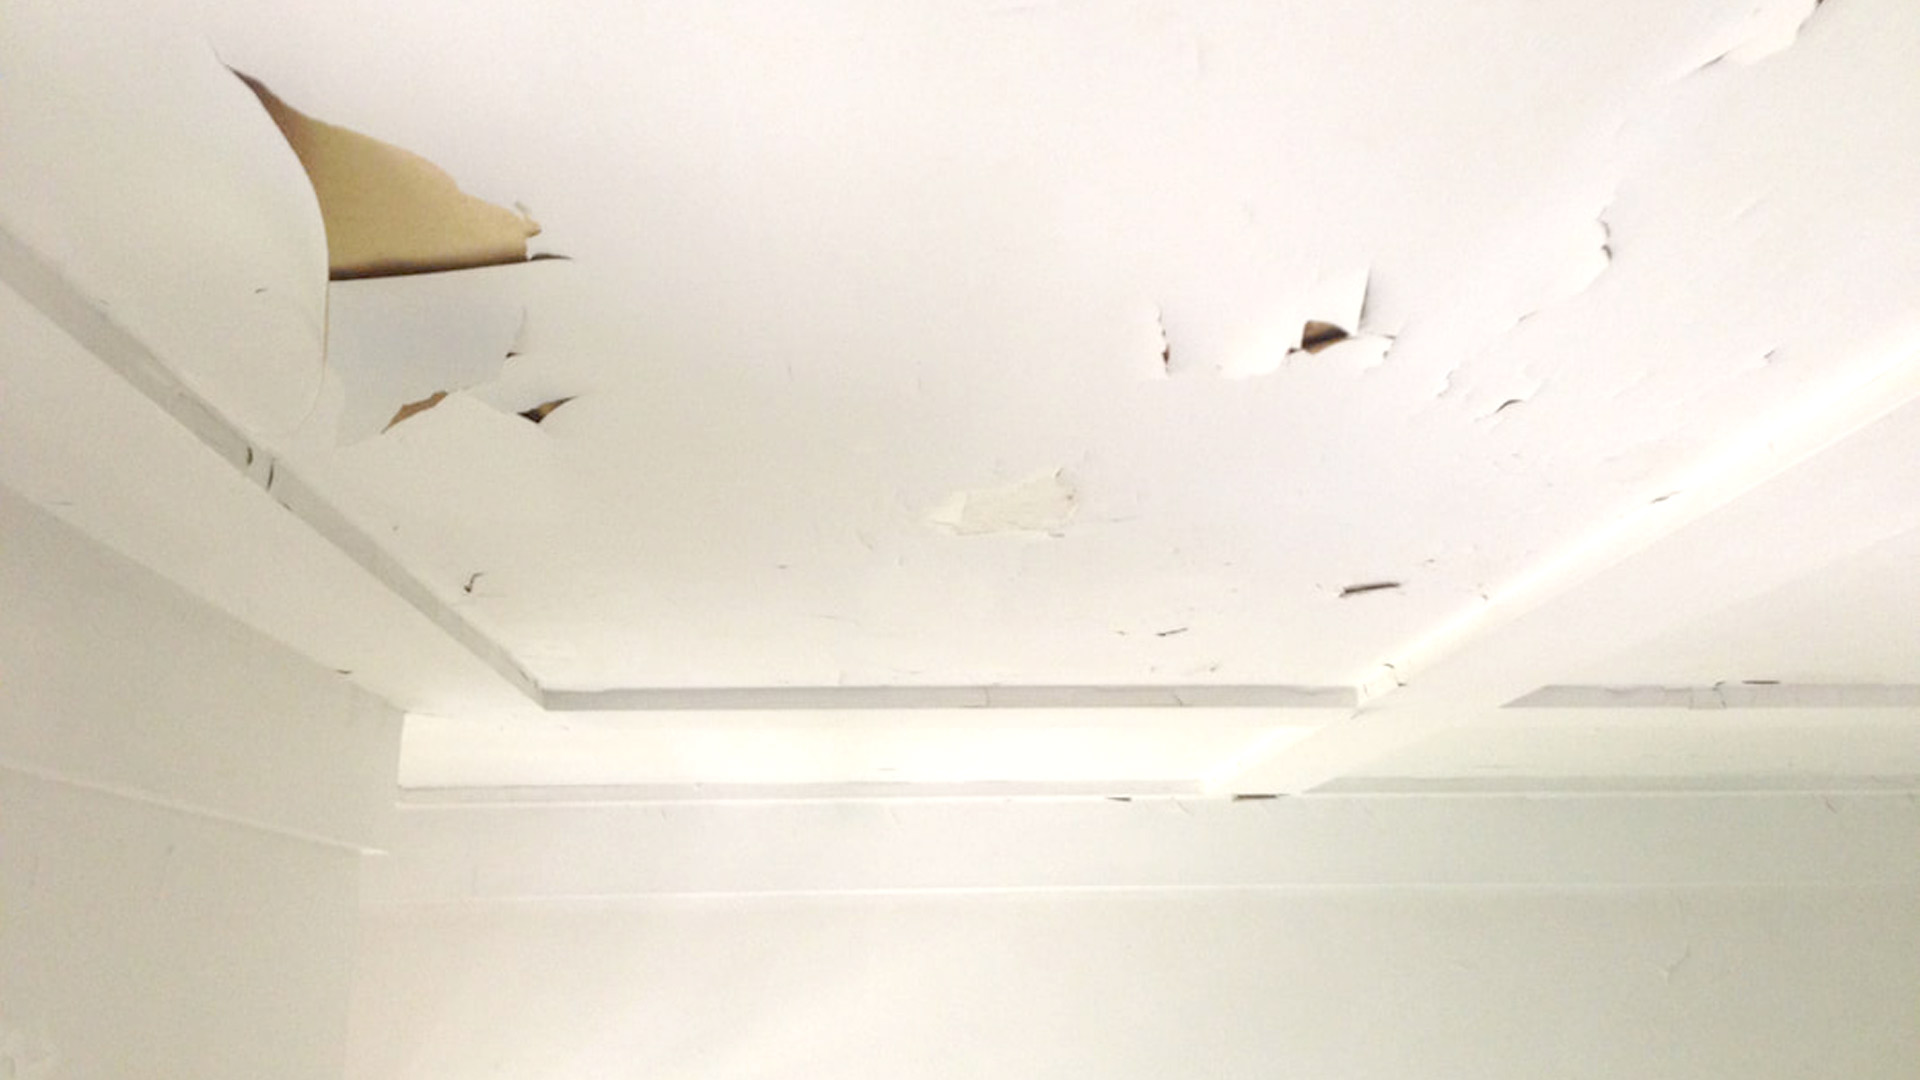
Masking window sills and window frames
This is an intricate part of the masking process, and this is where specialist painters tape comes in handy. At all costs, you want to avoid getting paint stains on window sills and glass work, so take your time covering the edges with proper painters masking tape. Again, it is important to seal the tape flat against the surface to ensure sufficient protection.
5. Fresh eyes to finalise!
As a final piece of advice when masking rooms for painting, once you think you have finished masking, step out the room, take a short break and re-enter. You may notice a section, however minor, that has been overlooked. This happens often, even to some professionals!
The expert painters at One Day Paint in Melbourne have mastered the art of masking using quality tape for the best interior finish.
Enjoy an instant home makeover by calling 1800-663-329 or making an online enquiry.